
JUnit 5 vs Kotest. Part 1: Is it the new way we test?
In my previous blog post, I used Kotest framework instead of the good old JUnit and got excited about its syntax sugar and capabilities. Today, I will dive deeper into the features Kotest brings to the table and compare them with JUnit 5’s alternatives (if any). Hopefully, this article can serve as a starting point for those who haven’t used Kotest yet and are in doubt about whether it’s worth migrating from JUnit 5 or not. So, JUnit 5 vs Kotest – who will win this battle?
The technical stack I chose for this article:
- Programming language: Kotlin
- Build tool: Maven
- Testing frameworks: JUnit 5 and Kotest
- IDE: IntelliJ IDEA
Dependencies
The first difference between the two frameworks comes with their dependencies. And it’s not just about obviously different group/artifact IDs but rather understanding what needs to be added to make things work. In this regard, I found JUnit less troublesome.
JUnit 5
In order to use this framework for writing tests, basically only one single dependency is needed in your pom.xml:
<dependency>
    <groupId>org.junit.jupiter</groupId>
    <artifactId>junit-jupiter</artifactId>
    <version>5.9.2</version>
    <scope>test</scope>
</dependency>
It’s an aggregator library that combines other JUnit 5 dependencies: JUnit Jupiter API (annotations, assertions, conditions, etc.), JUnit Jupiter Engine (extensions, test execution engine, lifecycle callbacks, etc.) and JUnit Jupiter Params (parsers, different parameter types, aggregators, etc.).
This is basically it if you want to run JUnit 5 tests in IntelliJ IDEA, as it recognises and can execute them out of the box. Apparently, we all want tests to be run on CI, hence, some extra tweaks are needed for Maven to be able to recognise JUnit 5 tests. But more on that later.
Kotest
As mentioned earlier, the Kotest framework is distributed to its users via more segregated libraries. You add only those dependencies you really need and don’t import everything at once, which does make sense. It has a certain downside though – sometimes it’s quite difficult to understand which exact dependency needs to be added for a particular functionality. I was struggling a bit last time with that, as the Kotest group in the Maven repository has 340 different libraries, and it’s not that obvious what lives where.
Based on the previous experience, I added 2 core Kotest dependencies to be able to start writing its tests and assertions:
<dependency>
    <groupId>io.kotest</groupId>
    <artifactId>kotest-runner-junit5-jvm</artifactId>
    <version>5.5.5</version>
    <scope>test</scope>
</dependency>
<dependency>
    <groupId>io.kotest</groupId>
    <artifactId>kotest-assertions-core-jvm</artifactId>
    <version>5.5.5</version>
    <scope>test</scope>
</dependency>
Unfortunately, unlike JUnit 5, IntelliJ IDEA doesn’t have the support for Kotest tests out of the box. In order for them to be recognised by the IDE, the Kotest plugin must be installed. It can be easily done via the IDE’s menu: Preferences -> Plugins -> Marketplace tab. After the installation, the well-known ▶️ button appears in the line numbers column next to the code editor, and Kotest tests can be easily run from the IDE.
Adding Maven Surefire Plugin
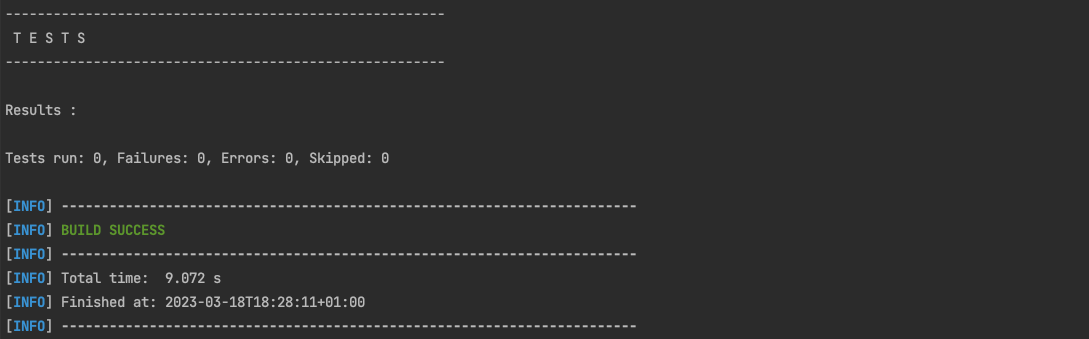
JUnit 5 and Kotest must have Maven Surefire Plugin added to the project’s pom.xml to run their tests from the command line. If the above-mentioned plugin is forgotten, executing the mvn test command leads to the following output:
Luckily, adding the plugin is extremely easy and needs nothing more than the following dependency in the <build><plugins> section of your pom.xml :
<build>
    <plugins>
       ...
        <plugin>
            <groupId>org.apache.maven.plugins</groupId>
            <artifactId>maven-surefire-plugin</artifactId>
            <version>2.22.2</version>
        </plugin>
       ...
    </plugins>
</build>
If the test naming conventions are met, Maven Surefire Plugin will be able to discover tests and execute them when running the mvn test or mvn verify commands.
Writing tests
This is probably where the most efforts are invested when it comes to using any particular testing framework. It is important to understand though which framework works better for you, and which syntax is easier to write and support. In this regard, Kotest offers more ways to experiment but it comes with a price – not everything is as straightforward as in JUnit.
JUnit 5
The fundamental (and very straightforward) JUnit’s way of writing and organising tests is annotations. A typical JUnit 5 test can usually be described by using a few of them:
@DisplayName("Canada Holidays API - Provinces")
class JunitExamplesTest {
private val specification = RestClient.createBaseSpecification()
// Regular JUnit 5 test
@Test
@Tag("acceptance")
@DisplayName("Requesting all provinces should result in 200 success code")
fun checkAllProvincesAreReturned() {
assertEquals(specification.get("/provinces").statusCode, HttpStatus.SC_OK)
}
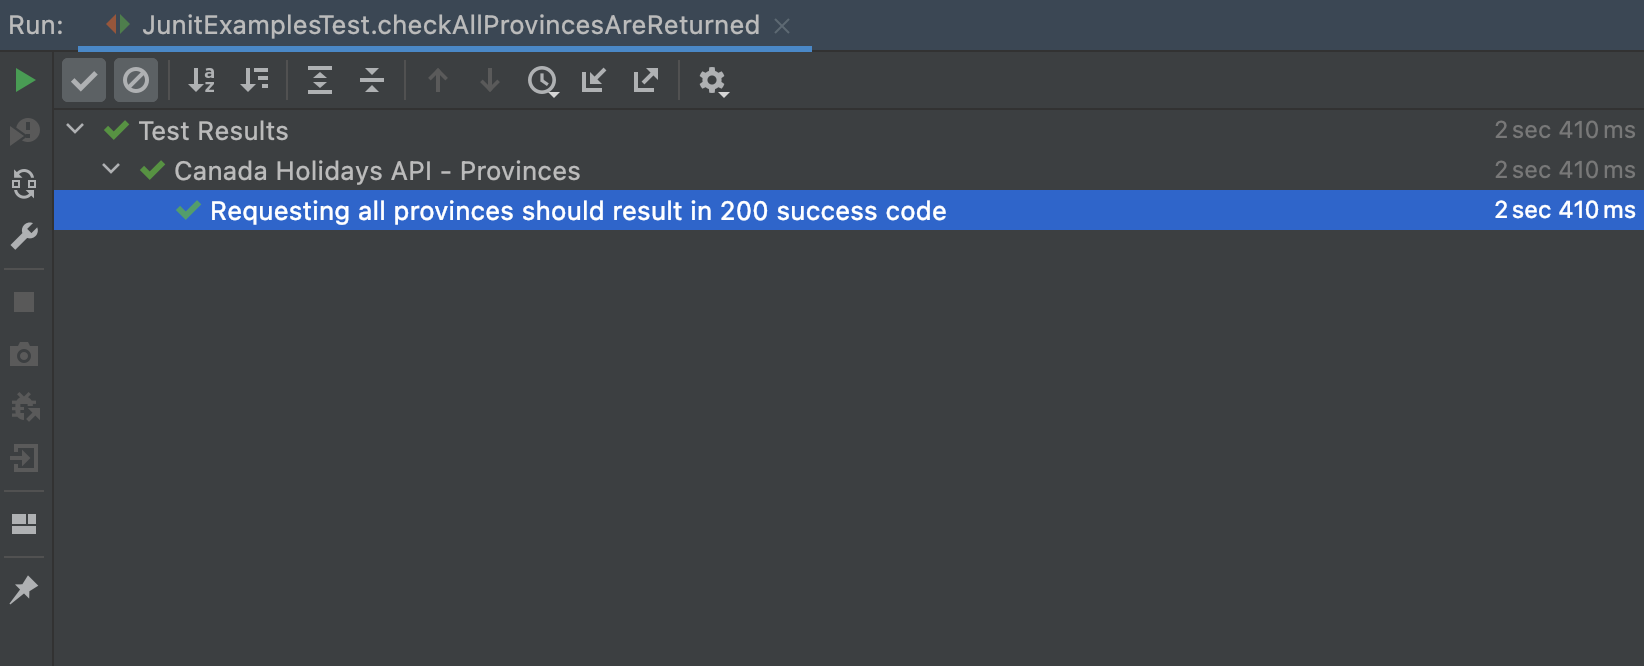
}In the snippet above, I listed those annotations that I personally use the most to make tests readable and filterable (@Tag, @DisplayName). They are usually enough to make a test self-descriptive in both, IDE’s test explorer window and any generated report:
With a certain dexterity with the @DisplayName annotation, nested tests and just a little bit of writing skills, it is possible to create JUnit tests that speak for themselves.
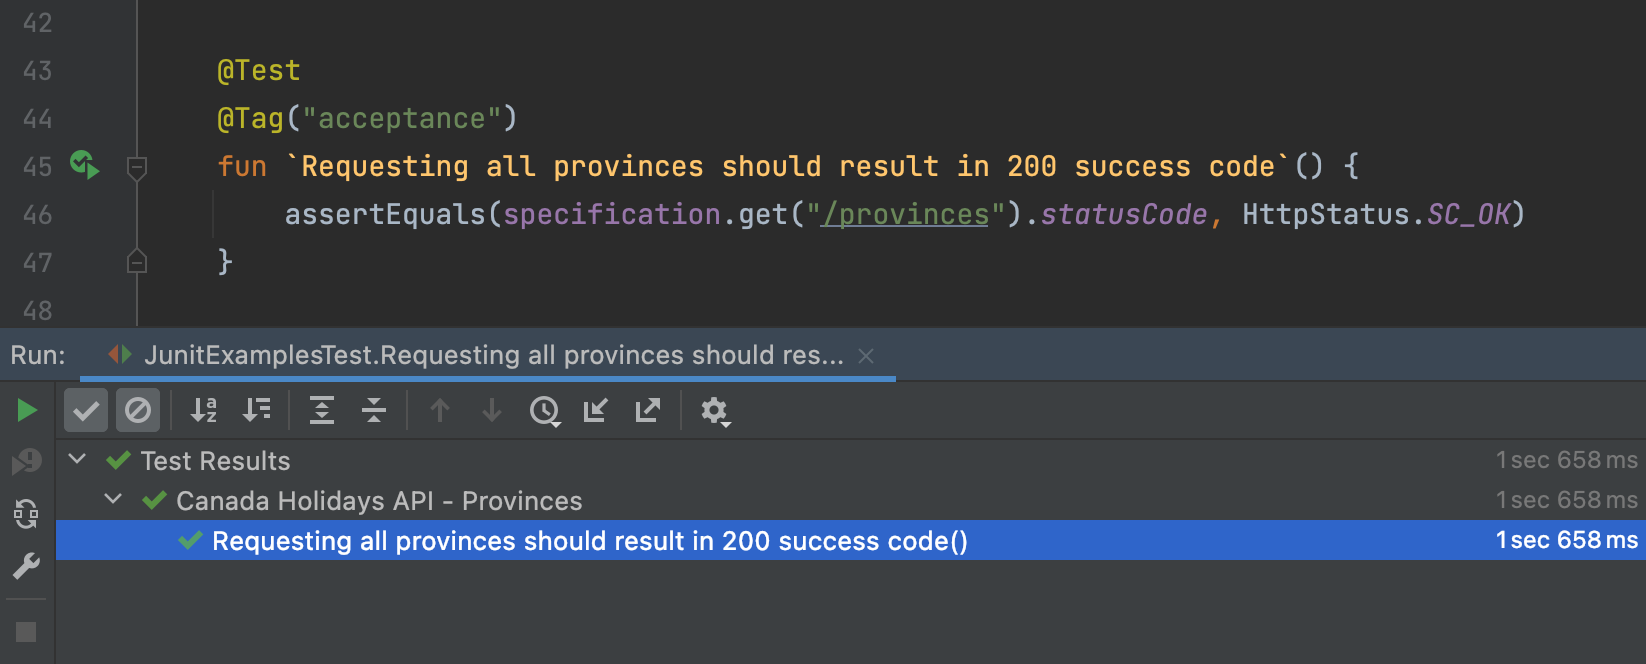
Utilising Kotlin perks, however, lets us forget about the @DisplayName annotations on both, test method level and test class levels, and just simply name our tests like this:
Speaking of the devil nested tests… JUnit Jupiter made writing them easy by introducing the @Nested class-level annotation:
@DisplayName("Canada Holidays API - Provinces")
class JunitExamplesTest {

    // Nested JUnit 5 test
    @Nested
    @DisplayName("Negative checks")
    inner class JunitExampleNestedTest {
        private val specification = RestClient.createBaseSpecification()

        @Test
        @DisplayName("Requesting unknown province by ID should result in 400 error code")
        fun checkUnknownProvinceIsNotReturned() {
            val responseCode = specification.get("/provinces/XYZ").statusCode
            assertEquals(responseCode, HttpStatus.SC_BAD_REQUEST)
        }
    }
}
The nesting level can be arbitrarily deep, so with some patience, it is possible to create very hierarchical tests. In the example above, the output looks like the following:

Kotest
Unlike JUnit with its single style of writing, Kotest brings to the table many more options (they call them “specs”): Fun, Describe, Should, String, Behaviour, Free, Word, Feature, Expect and Annotation. They are nothing but syntax sugar that allows structuring your tests in different ways you like. However, there is no functional difference between them.
For example, a typical Kotest test that is based on the Describe spec looks like this:
class KotestExamplesTest : DescribeSpec( {
    isolationMode = IsolationMode.InstancePerLeaf

    val specification = RestClient.createBaseSpecification()

    describe("When user requests a province by unknown ID") {
        it("should return 400 response code") {
            specification.get("/provinces/XYZ").statusCode.shouldBe(HttpStatus.SC_BAD_REQUEST)
        }
    }
})
Looks familiar, right? Indeed, many of us can recognise JavaScript aroma notes. Executing the above-mentioned test in IntelliJ IDEA produces the following output:

The same test but written with the help of the Behaviour spec would look a bit different but the general idea is still the same:
given("Canada Holidays API - Provinces - GET /province ") {
        `when`("user tried to fetch an unknown province") {
            val response = specification.get("/provinces/XYZ")
                then("response code should be 400 (bad request)") {
                    response.statusCode.shouldBe(HttpStatus.SC_BAD_REQUEST)
                }
        }
}
The output of this Behaviour spec looks more like the traditional Cucumber-Gherkin style:

I didn’t really try all the available specs but rather decided to explore the idea behind them. If you noticed in the very first Describe spec example, my test was not placed in the KotestExamplesTest class body. Hmm, interesting…
Since Kotest utilises Kotlin features and its DSL capabilities, tests in Kotest must be defined either in the init { … } block of a test class or inside the init lambda of a chosen specification. This is what went for:
class KotestExamplesTest : DescribeSpec( {
    // test code can be placed here
}) {
    init {
        // or here
    }
}
While the DSL style is cool, writing lots of tests inside the init lambda might be a bit… unusual for people migrating from the traditional plain JUnit-like way of structuring tests. I did have some struggles initially when using lifecycle callbacks in Kotest but that will be discussed in the next article.
When it comes to nested tests, I think that Kotest claims to be the winner. Language features and the way this test framework executes tests, make writing nested tests really natural.
For example, remember the very first “describe” test in this chapter? In Kotest, you can easily write something like this:
describe("When user requests a province by unknown ID") {
    it("should return 400 response code") {
        specification.get("/provinces/XYZ").statusCode.shouldBe(HttpStatus.SC_BAD_REQUEST)
    }

    describe("and when user requests 2023 year holidays for an unknown province") {
        it("should still return 400 response code") {
            specification
                .queryParam("year", "2023")
                .get("/provinces/XYZ").statusCode.shouldBe(HttpStatus.SC_BAD_REQUEST)
        }
    }
}
Basically, the nesting level of such “describe” and “it” blocks can be arbitrary. The only requirement is that “it” blocks should be placed inside one or more “describe” ones. There is a nuance, though, related to the isolation mode and what is executed when. But I will talk about that in the next part of the series.
The output from the snippet above looks not that bad, I’d say:

Bonus topic: disabled tests
JUnit
If you’re (hopefully) not a fan of commenting tests out, then you’re very well familiar with the @Disabled JUnit 5 annotation. It can be placed on the class or test method level and will disable an annotated test (set of tests) from execution, optionally with specifying a reason:
@Test
@Disabled("Endpoint is not yet implemented")
@DisplayName("Requested known province should have at least one official holiday")
fun checkProvinceHasHolidays() {
    // stub only, re-enable after the actual endpoint is implemented
}
The benefit of using @Disabled instead of bad-smelling commenting tests out is that they are still shown in test reports. So, whenever needed, you can always have an overview of what needs to be reworked.
Kotest
The way Kotest does disabling tests is quite fancy. If we go back to the Describe spec example, all is needed to disable a particular test (“it”) or a test container (“describe”) – just add “x” in front of it:

In the picture above, Kotest IntelliJ IDEAL plugin was able to immediately recognise disabled tests without even running them and marked them as such on the left from the code editor. In this regard, it’s a big difference compared to the JUnit support because disabled JUnit tests can still be run from IntelliJ IDEAL manually if needed.
But like in the JUnit case, such x-tests will still be shown in the test execution report but there is no way to provide a reason. Instead, Kotest prints “Disabled by method” in the report, so if you want to have more clarity, you’d need to play around with the names of disabled tests.
Conclusions
- Kotest styles definitely bring some fun to the process of writing tests. If for whatever reason you are bored of writing the same JUnit annotations again and again, Kotest can definitely bring some fresh air. Its specs give plenty of choices in terms of writing self-descriptive tests. However, as you’ve seen already, with a bit of patience it is possible to write no worse tests with JUnit 5. But it does need more attention and still requires some double work in giving meaningful names to your test methods and writing good strings inside @DisplayName annotations.
- I haven’t compared more complex concepts of both frameworks such as assertions, parameterized tests, lifecycle hooks (before/after test, before/after all) and other stuff yet. Apparently, today’s comparison isn’t enough to build a solid “go – no go” decision. That’s why it’s not a lonely article but a part of the big series where I’ll be trying to share as many insights and findings as possible.
Stay in touch!